Step-by-step guide
Procedure to install the Go2group Proxy Service onto your Dynamics CRM Server
Supports on-premises versions and will not work with online version.
|
CRM 4 |
CRM 2011 |
CRM 2013 |
CRM 2015 |
CRM 2016 |
CRM online |
|---|---|---|---|---|---|
|
|
|
|
|
|
|
-
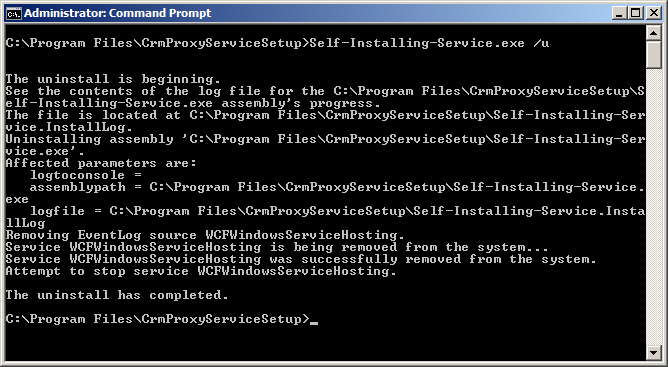
Uninstall the previous version if any C:\Program Files\CrmProxyServiceSetup\Self-Installing-Service.exe /u and delete C:\Program Files\CrmProxyServiceSetup folder
-
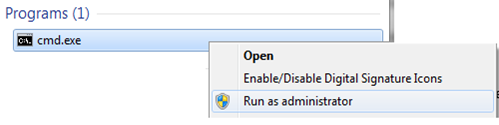
Run cmd as Administrator
-
Uninstall
-
-
Extract the CrmProxyServiceSetup.zip file to any folder on the CRM server where you want to host the proxy service, e.g., C:\Program Files\CrmProxyServiceSetup\
-
Run script.vbs from the extracted folder from a command line
-
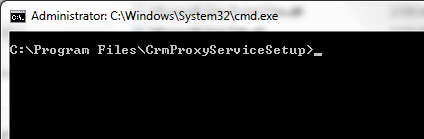
Run cmd.exe as administrator
-
-
Change the directory to the extracted folder, for example, f you extracted setup in C:\Program Files folder
-
Execute script.vbs as shown below: please use the appropriate values for your environment

-
Script.vbs will check for the existence of .NET Framework 4.0, if .NET Framework 4.0 is not installed script.vbs will install it in silent mode, then the script will install and start a Windows Service to host a WCF service.
Example installation command
C:\> script.vbs "8000" "http://crmservername:port" "2011" "corp" "Data Source=localhost;Initial Catalog=Go2group_mscrm;User ID=username;Password=password"
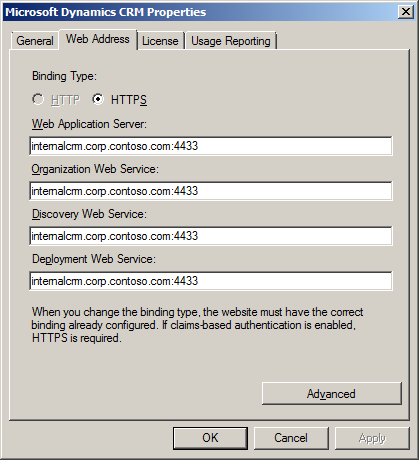
If Claims based authentication is enabled
C:\> script.vbs "8000" "https://internalcrm.corp.contoso.com:port" "2013" "corp" "Data Source=localhost;Initial Catalog=Go2group_mscrm;User ID=username;Password=password"
Where
- 8000 is port for Proxy Service,
- http://crmservername:port – base url of CRM application, https://internalcrm.corp.contoso.com:port would be the base url if Claims based authentication is enabled in CRM.
- 2011 is CRM version, possible values are 4, 2011, 2013, 2015 and 2016
- Corp is the domain name
- "Data Source=servername;Initial Catalog=databasename;User ID=xxxxxx;Password=xxxxxxxxx" is the connection string for the CRM Database
- Database name would be <orgname>_MSCRM
-
For example If your CRM servername is CRMSrv and organization name is contoso, then the connection string would be "Data Source= CRMSrv;Initial Catalog= contoso_MSCRM;User ID=xxxxxx;Password=xxxxxxxxx"
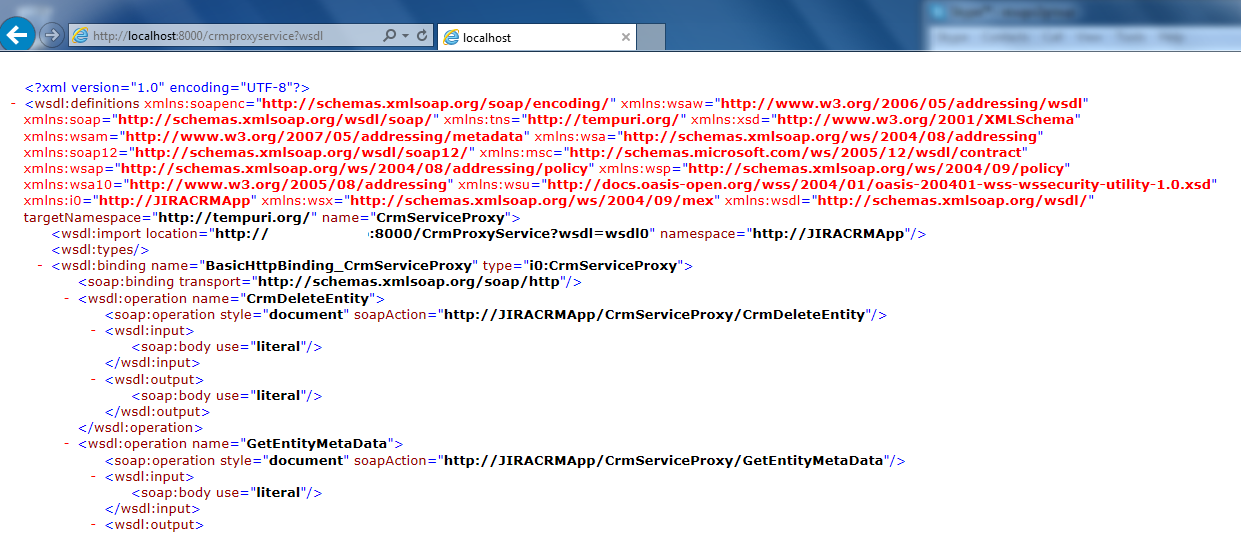
Please use this URL as the CRM URL on the JIRA Plugin's Initial Setup Screen : http://servername:8000/CrmProxyService/soap
You can test that you have correctly installed the CRM Proxy Service by using this URL http://servername:8000/CrmProxyService?wsdl in your browser and ensuring that you do not receive an error message from the server.
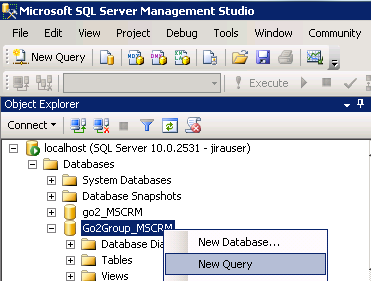
Execute stored procedure in CRM Database - SQL Server
-
Login using SQL Server Management Studio – right click on <orgname>_MSCRM click on New Query
-
Copy the contents of procedure.sql and paste it into a SQL Server new query window and execute the query – this will create the procedure p_GetEntityMetaDataAttributes on orgname_MSCRM database
WSDL location of CrmProxyService - after installing setup
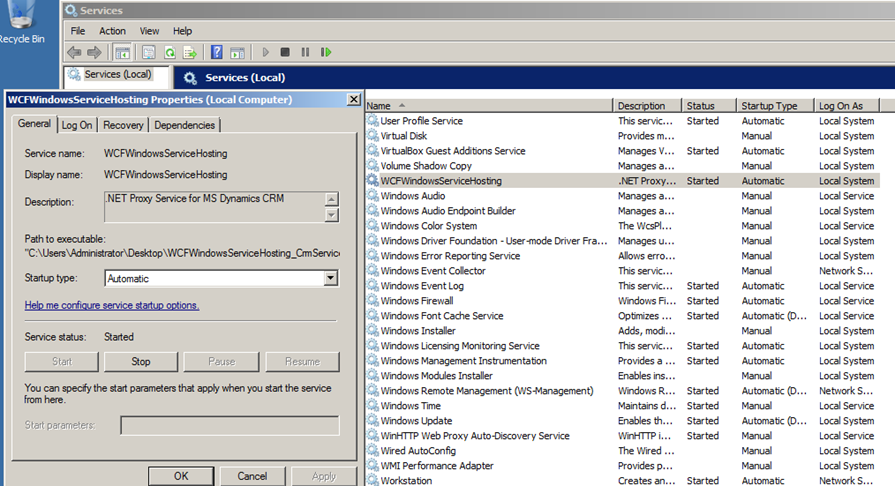
Services window screen capture after installing our setup
Open a port in Windows Firewall
-
Open Windows Firewall by clicking the Start button, and then clicking Control Panel. In the search box, type firewall, and then click Windows Firewall.
-
In the left pane, click Advanced settings. If you're prompted for an administrator password or confirmation, type the password or provide confirmation.
-
In the Windows Firewall with Advanced Security dialog box, in the left pane, click Inbound Rules, and then, in the right pane, click New Rule.
-
Follow the instructions in the New Inbound Rule wizard.