Step-by-step guide
Prerequisites
You should have downloaded and installed the CRM proxy setup in MS Dynamics application.
Installation
Install the MS Dynamics CRM plugin for JIRA add-on in the standard way as you do for any other Atlassian add-ons. For more details on how to install add-ons, please refer to the Atlassian documentation. 30 days trial license can be obtained by emailing sales@go2group.com.
Configuration
Once the plugin is successfully installed, please follow the below steps to complete configuring the plugin for use.
-
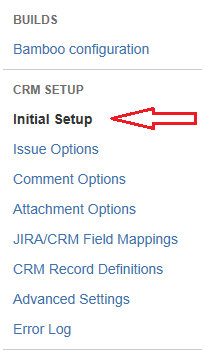
Navigate to CRM SETUP->Initial Setup in the left hand panel of Administration section.
-
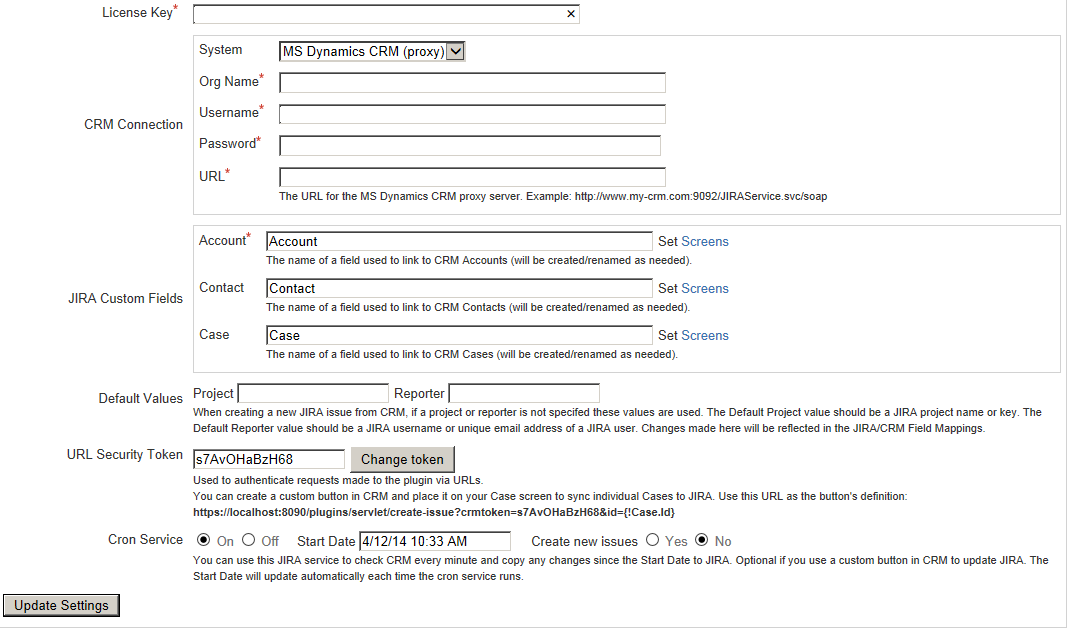
Clicking on Initial Setup will take you to the page as shown below where you should provide your License Key, CRM Credentials and JIRA Custom Fields that will be used by the plugin for linking JIRA issues to the MS Dynamics CRM Server. The fields on this screen are the minimum you need to configure in order to get the plugin up and running. Once you filled out these fields, click the 'Update Settings' button.
The plugin needs a CRM username and password so it can log into the MS Dynamics CRM server, please specify a Org Name, Username and Password for it to use.
The username will differ depending on the version of CRM you are using.
-
If your CRM version is 4 or 2011 on-premise - domain\username - e.g., corp\administrator
-
If your CRM versoin is 2013 on-premise - username - [do not mention domain name]
Initially the plugin creates three new custom fields in JIRA, these fields are used to link a JIRA issue to one or more records in CRM. For example the "Account" field is used to link to CRM account records, the "Contact" field is used to link to CRM contact fields etc. By default these three fields are named "Account", "Contact" and "Case" but feel free to re-name them to whatever you wish. After a JIRA issue is linked to one or more CRM records, changes made in JIRA to those issues will be immediately copied to CRM. In order for changes made in CRM to get copied back to JIRA, you should turn on the plugin's "Cron Service", this background task will run once per minute to copy changes made in CRM to the appropriate JIRA issues. The plugin is initially configured with a default set of fields to copy between JIRA and CRM, you can view and change these settings on the plugin's "JIRA/CRM Field Mappings" setup screen.
-
-
You can now edit or create an issue in JIRA and use the new Account, Contact and Case fields to search for and link to existing records in your CRM system. You also have the option to create new Case records in CRM from your JIRA issue. To use these fields in JIRA, click on the plus image next to the field, enter part of the record name in the field that appears and then select one of the matching CRM records. Once you have linked a JIRA issue to a CRM Case, the plugin will copy changes between the JIRA issue and the CRM case as specified by the "JIRA/CRM Field Mappings" settings. By default, Comments and Attachments also copied between JIRA and CRM.
You will notice when viewing an issue in JIRA that has been linked to CRM, that the plugin displays some values from the CRM record in the Account, Contact and Case fields. These fields are initially configured by default to represent the CRM fields that are normally considered the name of the record, but you can control which fields are displayed using the plugin's "CRM Record Definitions" setup screen. Note that these CRM field values are not stored in JIRA but can be if you wish by adding the appropriate field mappings to the plugin's "JIRA/CRM Field Mappings".